
9:32 AM, the third trade of the morning tags your stop by a few cents—then rips in your original direction without you. The loss isn’t huge, but the sinking feeling is: the next click could be the one that finally dents your account. This guide shows How Much to Risk Per Trade so a single mistake—or a bad week—can’t take you out.
Key Takeaways (Save This)
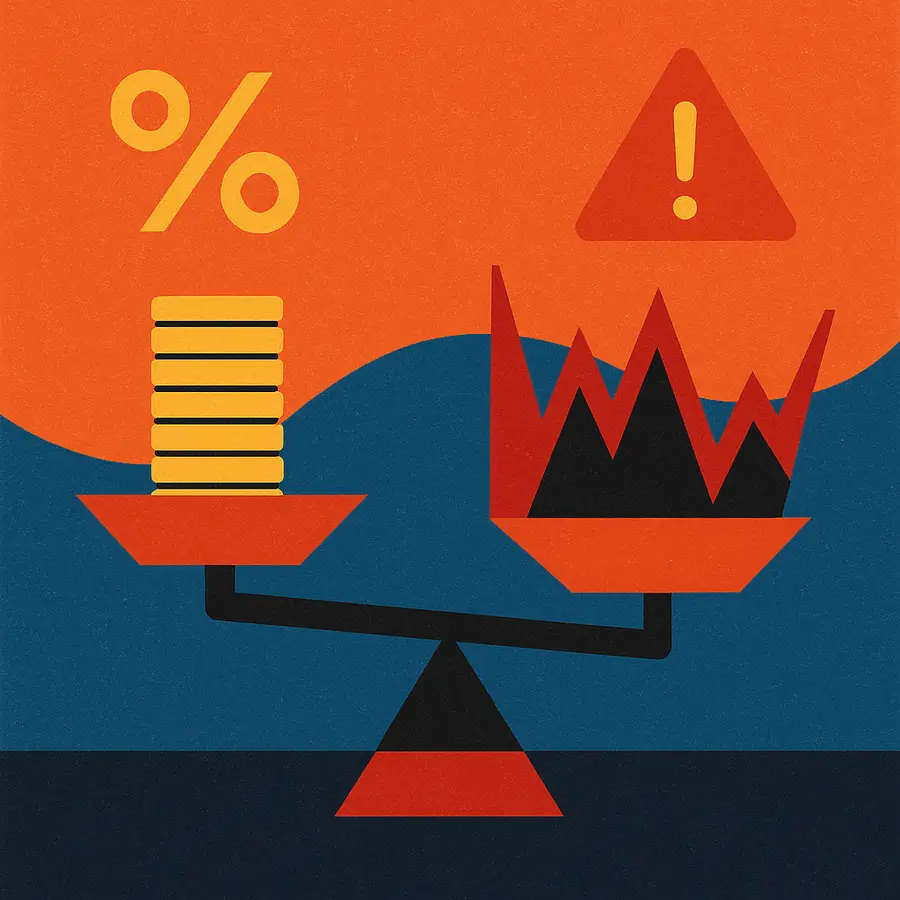
Risk per trade is the percentage of your account equity you are willing to lose if your stop-loss is hit on a single position.
Position sizing converts your chosen risk % and stop distance into shares/contracts/lot size.
The 1% risk rule is a common default, while 0.25%–0.5% often fits higher volatility or smaller accounts.
Fixed fractional risk lowers the chance of blowing up by shrinking size during drawdowns.
The core math is: position size = dollar risk ÷ stop-loss distance per unit, with a buffer for fees/slippage.
A complete risk plan includes per-trade risk, max daily/weekly loss limits, and rules to reduce risk after drawdowns.
What is Risk Per Trade?
Risk per trade is the percentage of your account equity you are willing to lose if your stop-loss is hit on a single position.
Next, that means “risk” is defined before entry, not after price moves. For example, with a $10,000 account and 1% risk, your maximum planned loss is $100.
Key terms you’ll use:
Account equity: your current balance including open P/L.
Dollar risk (account risk): equity × risk%.
Stop-loss distance: entry price to stop price, per share/contract.
Position size: how many shares/contracts/lots to trade.
R-multiple: profit or loss relative to your risk (e.g., +2R, -1R).
Dollar risk per trade equals account equity × chosen risk percentage (e.g., $10,000 × 1% = $100).
Then, if your stop is hit, the plan says you lose about $100, not “whatever happens.”
Why Risk Per Trade Matters
Risk per trade is the control knob that determines survivability, drawdowns, and emotional stability across a sequence of trades.
Next, a good strategy can still fail if your sizing is reckless. For example, risking 10% per trade can destroy a solid edge after a small losing streak.
Drawdowns compound faster than most traders expect.
Additionally, a 20% drawdown requires a 25% gain just to break even, while a 50% drawdown requires 100%. That math is why sizing matters more than “one good setup.”
Smaller, consistent risk improves decision-making.
Meanwhile, studies show loss aversion is powerful: people feel losses about twice as strongly as equivalent gains. That pressure makes traders move stops, average down, or revenge trade.
Statistic — Source: Kahneman & Tversky, 1979
Fixed fractional risk means you risk the same percentage of equity on every trade, so position sizes automatically shrink during drawdowns and grow during winning periods.
For example, after a losing week, your next trades naturally get smaller, which slows the bleeding.
Risk of ruin becomes manageable with low, consistent risk.
Finally, long-run survival depends more on sizing than predictions. For example, risking 0.5% per trade gives you far more “attempts” to let your edge show up.
Statistic — Source: U.S. SEC Investor Bulletin, 2023 (risk management guidance emphasizes limiting losses and using stop orders appropriately)
Common Risk-Per-Trade Rules (0.25% to 2%)
Risk-per-trade rules are preset percentages that cap your maximum planned loss on any single trade.
Next, the best rule is the one you can follow under stress. For example, “2%” is useless if it makes you panic-exit winners.
0.25% Risk Per Trade (Ultra-Defensive)
0.25% risk per trade is a conservative setting designed to protect small accounts and high-volatility strategies.
Then, it fits you if you trade fast markets (small-cap stocks, meme coins) or if your stops are wide. For example, a $5,000 account at 0.25% risks $12.50 per trade.
0.5% Risk Per Trade (Conservative Standard)
0.5% risk per trade is a widely used guardrail that balances learning speed and account protection.
Next, it works well for beginners who still make execution mistakes. For example, five consecutive losses cost ~2.5%, which is unpleasant but survivable.
1% Risk Rule (Common Default)
The 1% risk rule is a simple default that caps each loss to about 1% of equity and keeps drawdowns controllable.
Then, it’s often ideal for swing traders with well-defined stops. For example, 10 losses in a row is roughly a ~10% drawdown before slippage/fees.
2% Risk Per Trade (Aggressive, Not “Wrong”)
2% risk per trade is an aggressive setting that can grow accounts faster but increases drawdown and psychological load.
Next, it fits proven systems with stable execution and strong discipline. For example, a 6-loss streak is ~12%, which can cause many traders to deviate.
Is the 1% rule always safe, or should it be lower?
A “safe” risk percentage is the one that keeps your worst-case losing streak inside your maximum drawdown tolerance. For example, if a 15-trade losing streak would break your mindset, 1% may be too high.
Statistic — Source: FINRA, 2024 (investor education highlights limiting position size and avoiding overconcentration as core risk controls)
How to Calculate Position Size (Step-by-Step)
Position sizing involves dividing your dollar risk per trade by the stop-loss distance per share/contract to determine how many units to trade.
Next, this is the “calculator” that makes risk rules real. For example, a tighter stop means you can trade more shares for the same dollar risk.
Before the math, set your stop using a repeatable method.
Step 1: Choose Your Risk Percentage
Your risk percentage is the fraction of equity you accept as a maximum loss if your stop is hit.
Then, start with 0.5% to 1% if you’re newer. For example, pick 0.5% if you feel anxious after small losses.
Step 2: Convert Risk % to Dollar Risk
Dollar risk is your account equity multiplied by your chosen risk percentage.
Example: $12,000 × 0.75% = $90.
Dollar risk per trade equals account equity × chosen risk percentage (e.g., $10,000 × 1% = $100).
Step 3: Define Entry and Stop (Stop Distance)
Stop-loss distance is the price difference between your entry and stop, per unit traded.
Example: Buy stock at $50.00, stop at $49.25 → stop distance = $0.75 per share.
Step 4: Calculate Units (Shares/Lots/Contracts)
Position size is dollar risk divided by stop-loss distance per unit.
Formula:
Position size = Dollar Risk ÷ Stop Distance
Example: $90 ÷ $0.75 = 120 shares.
Step 5: Add a Fees/Slippage Buffer (Real-World Fix)
A slippage/fees buffer is a small reduction in size to keep real losses near your planned risk.
Then, reduce size by 1–5% in liquid markets and 5–15% in thin/fast markets. For example, size down from 120 shares to 110–115 if spreads are wide.
Step 6: Round Down (Always)
Rounding down is the rule that prevents accidental over-risking.
For example, if the math says 2.1 contracts, trade 2, not 3.
Featured Snippet Worked Example (Copy/Paste)
Account equity: $10,000
Risk per trade: 1%
Dollar risk: $10,000 × 0.01 = $100
Entry: $25.00
Stop: $24.50
Stop distance: $0.50
Position size: $100 ÷ $0.50 = 200 shares (round down for fees/slippage)
How to Choose Your Risk Percentage (Decision Framework)
Your ideal risk per trade is the smallest percentage that still lets your strategy perform while keeping drawdowns psychologically and mathematically tolerable.
Next, pick a number you can follow on your worst day. For example, if 1% makes you hesitate, 0.5% is usually better.
Factor 1: Account Size (Small Accounts Need Smaller %)
Account size is a practical constraint because fees and minimum sizes create hidden risk.
Then, smaller accounts often do best at 0.25%–0.5% until consistency improves. For example, with $500, a “1%” risk is $5, which may be smaller than one options contract’s spread.
Factor 2: Strategy Win Rate + Expectancy
Win rate is the percentage of trades that are profitable, and it interacts with your payoff and risk to determine expectancy.
Next, sizing should respect your backtested edge. For example, a 35% win-rate trend strategy can still work if winners are 3R+, but it requires emotional tolerance for long losing streaks.
Statistic — Source: CME Group, 2024 (education materials stress that futures outcomes depend heavily on risk controls and position sizing due to leverage)
Factor 3: Volatility (ATR-Based Stops Often Need Lower %)
Volatility is the speed and range of price movement that widens stops and increases slippage risk.
Then, high ATR markets usually require lower % risk to keep dollar risk stable. For example, if ATR doubles, your stop often doubles, which halves your position size.
Factor 4: Leverage and Liquidation Risk
Leverage is borrowed exposure that magnifies both gains and losses, increasing the chance of forced liquidation.
Next, leverage means your stop must be honored with strict sizing. For example, a 5× leveraged crypto position can hit liquidation before your “mental stop” ever triggers.
Factor 5: Max Drawdown Tolerance (Your Real Constraint)
Max drawdown tolerance is the largest equity drop you can handle before you change behavior or stop trading.
Then, set risk so your “bad month” is survivable. For example, if your tolerance is 10%, and your worst streak is 12 losses, risk near 0.5%–0.75% may fit better than 1%.
Should you risk more on “high-conviction” trades?
High-conviction sizing is increasing risk based on subjective confidence, and it usually increases variance more than returns. For example, doubling risk on “the best setup” often coincides with peak emotion, not peak edge.
Market-Specific Adjustments (Stocks, Options, Forex, Crypto, Futures)
Market-specific risk sizing is adjusting your risk-per-trade math for gaps, implied volatility, leverage, and contract specifications.
Next, the same 1% rule can behave very differently across instruments. For example, options can lose value from IV crush even if price moves your way.
Stocks: Watch Gaps and Overnight Risk
Stock risk sizing is complicated by earnings gaps and overnight news that can jump past stops.
Then, reduce risk before binary events. For example, risking 0.25%–0.5% into earnings often beats “hoping your stop fills.”
Options: Premium, Greeks, and IV Change Your Risk
Options position sizing is controlling risk using premium paid, delta exposure, and implied volatility rather than just a chart stop.
Next, define risk as the premium at risk or a predefined exit if the thesis fails. For example, buying a $2.00 option with a rule to exit at $1.40 creates $0.60 per contract risk ($60), not $200.
Statistic — Source: Cboe, 2024 (options education emphasizes that implied volatility changes can materially impact option prices independent of underlying movement)
Forex: Convert Risk to Lots Using Pip Value
Forex lot sizing is calculating units from dollar risk using stop distance in pips and pip value.
Then, the same formula applies, just translated into pips. For example, $50 risk ÷ (25 pips × $0.20/pip) = 10 micro-lots.
Crypto: Assume More Slippage in Fast Moves
Crypto risk sizing is using smaller risk percentages to account for spikes, thin books, and weekend volatility.
Next, add a larger buffer. For example, use 0.25%–0.5% and a 10% size reduction on smaller altcoins.
Futures: Respect Contract Specs and Margin
Futures risk sizing is determining contracts from tick value × stop ticks, then staying well below margin limits.
Then, one contract might already exceed your risk budget. For example, if one ES tick is $12.50 and your stop is 8 points (32 ticks), risk is $400/contract, which may be too large for a $10,000 account at 1%.
Tools & Practical Examples (Calculator-Style)
Risk tools are calculators and templates that turn your risk percentage and stop-loss into a repeatable position size.
Next, use tools that reduce manual errors. For example, a simple spreadsheet prevents “fat-finger” oversizing.
Quick-Reference Table: Risk % → Dollar Risk
Dollar risk is equity multiplied by risk percent, and the table below gives instant values.

Account Equity0.25% Risk0.5% Risk1% Risk2% Risk$1,000$2.50$5$10$20$5,000$12.50$25$50$100$10,000$25$50$100$200$25,000$62.50$125$250$500
Worked Example 1 (Stocks)
Stock position size is dollar risk divided by stop distance per share.
Next, keep the stop logical, not tiny. For example, $20,000 equity × 0.5% = $100 risk; entry $80, stop $78 → $2 risk/share; size = 50 shares, then reduce to 48 for fees.
Worked Example 2 (Forex)
Forex lot size is dollar risk divided by (stop pips × pip value).
Then, use a pip-value table. For example, $10,000 × 0.5% = $50; stop 20 pips; pip value $0.25 → size = $50 ÷ (20×0.25) = 10 micro-lots.
Worked Example 3 (Options)
Options risk sizing is setting a predefined exit and sizing contracts so that loss equals your dollar risk.
Next, avoid sizing on “max loss” if you won’t hold to zero. For example, planned loss $75; option $3.00; thesis-invalid at $2.50 → $0.50 risk = $50/contract; size = 1 contract, not 2.
Worked Example 4 (Futures)
Futures position size is contracts based on tick value and stop distance in ticks.
Then, if one contract is too large, you must switch products or widen timeframe. For example, risk budget $100; micro contract risk $62.50 with your stop → 1 micro is acceptable.
Free + Third-Party Tools to Use Today
Position sizing tools are most useful when they accept equity, risk %, entry, and stop.
Next, mix a spreadsheet with broker calculators. For example:
Google Sheets / Excel (free templates) for position sizing math
TradingView (Position tool + ATR) to visualize stop distance and volatility
Myfxbook / BabyPips calculators for pip value and lot sizing
Mini Journaling Template (So You Actually Follow It)
A risk journal is a one-page log that records whether each trade respected your preset dollar risk.
Next, track compliance, not just profit. For example, mark “Yes/No” if your filled loss stayed within plan.
Suggested fields:
Date / market / setup
Equity at entry
Risk % and dollar risk
Entry, stop, stop distance
Size, fees estimate, buffer used
Result in R-multiple and notes
What’s Next (Your Risk Policy Checklist)
A risk policy is a written set of rules that standardizes your risk per trade, daily loss limits, and drawdown adjustments.
Next, a policy turns discipline into defaults. For example, you stop negotiating with yourself mid-session.
Start with these rules:
Set your default risk (0.5% or 1% for most beginners).
Define a max daily loss limit (often 2–3× per-trade risk).
Maximum daily loss limits (for example, 2–3× your per-trade risk) help prevent emotional ‘revenge trading’ from turning one bad trade into a catastrophic day.
Define a max weekly loss limit (often 5–8× per-trade risk).
Reduce risk after drawdowns (example rule: after -6R month, cut risk by 50% until equity recovers).
Backtest and validate your sizing with your strategy.
Review monthly and adjust only with data, not emotions.
How should you adjust risk after a losing streak?
Post-streak risk adjustment is temporarily lowering your risk percentage to protect capital and restore execution quality. For example, after 5 losses, dropping from 1% to 0.5% can prevent a bad week from becoming a blow-up.
Conclusion
Risk per trade is your pre-commitment to a small, survivable loss when a stop is hit.
Next, once the math is set, confidence improves because each trade is just one of many. For example, risking 0.5% with correct position sizing makes a losing streak annoying—not fatal.
Diagnose Your #1 Trading Mistake — Free
Answer 10 diagnostic questions and instantly find out which trading mistake is costing you the most — with a personalised 3-page correction plan PDF.
- Identifies your primary trading mistake
- Personalised 4-step correction plan
- 3-page PDF emailed to you free
What you'll discover:
-
Revenge Trading
Are you chasing losses?
-
Overtrading
Too many trades per day?
-
Emotional Trading
Feelings overriding logic?
Free. No sign-up required. PDF sent to your email.