
Most “1-minute scalping” advice quietly trains traders to overtrade chop and donate spreads to the market. The conventional approach fails because it prioritizes more signals instead of filtering out the conditions where M1 becomes statistically noisy. This guide to the 1-Minute Scalping Strategy replaces guesswork with a tight rule set—trend filter, pullback, trigger, and exit logic—built to survive spreads, slippage, and emotions.
Key Takeaways (Read This First)
A 1-minute scalping strategy targets small intraday moves with tight stops and fast exits.
A trend filter is the main defense against M1 false signals.
Pullback entries improve reward-to-risk and reduce chasing.
A clear trigger candle + invalidation level makes execution repeatable.
Spread, commissions, and slippage can erase the edge on M1.
Fixed risk per trade, daily limits, and a time stop prevent drawdown spirals.
What is a 1-minute scalping strategy?
A 1-minute scalping strategy is a rule-based approach that aims to capture small intraday price movements on the M1 chart using tight stops and short holding times. Typical holding time is 1–10 minutes, with targets often in the 3–10 pip range in forex (or equivalent ticks/points on indices and crypto).
Compared with 5-minute scalping, M1 offers more entries but also more noise. On M1, transaction costs matter more because targets are small relative to spread and commissions.
Why the 1-minute timeframe is popular (and dangerous)
The 1-minute timeframe (M1) is one of the most popular for scalping. It offers frequent opportunities but also high noise.
This means:
More setups
More false signals
More emotional pressure
M1 “noise” shows up as rapid flips in direction, fake breakouts, and whipsaws around common levels. It also increases impulsive behavior. Fast charts amplify fast mistakes.
Before you trade: market, session, and cost prerequisites
A 1 minute forex scalping setup is only viable when liquidity is high and costs are low. If these prerequisites are not met, the best strategy rules won’t save your edge.
Instrument selection (keep costs small)
Focus on instruments with consistently low costs during liquid sessions.
Forex (often best for M1): EURUSD, USDJPY, GBPUSD (watch volatility), AUDUSD.
Indices: US100/NAS100, SPX/US500, DAX during primary hours (costs vary by broker).
Crypto: BTC, ETH can work, but slippage can spike; spreads widen off-peak.
Rule of thumb: if average spread spikes randomly, M1 becomes a coin flip.
Spread/commission thresholds (hard filter)
Because targets are small, set a hard limit.
If your average target is 5 pips, try to keep total cost (spread + commission equivalent) to ≤ 20–25% of target.
Example: 5-pip target means total cost ideally ≤ 1.0–1.25 pips.
Cost impact example (why M1 edges disappear)
Spread and commissions are fixed transaction costs that disproportionately impact 1-minute strategies because profit targets are small relative to fees.
Simple example for a forex scalp:
Target (pips)Spread (pips)Net if Win (pips)Cost as % of Target31.02.033%51.04.020%51.83.236%81.26.815%
If your win rate and R-multiple aren’t strong, a 1–2 pip spread can wipe the strategy.
Best session timing for scalping (when M1 behaves)
Use the most liquid windows:
London open to London/NY overlap (forex): tighter spreads and smoother follow-through.
First 60–120 minutes of NY cash open (indices): strong directional flow, but volatility is high.
Avoid low-liquidity times (late US session, pre-Asia for many pairs).
News rules (non-negotiable)
Skip trading:
5–10 minutes before and after high-impact news on your instrument (CPI, NFP, rate decisions).
Any time spreads widen suddenly or candles jump with poor fills.
Strategy Rules Box: M1 scalping strategy rules (trend → pullback → trigger → exit)
Use this checklist to keep your execution consistent.
Chart template (optional but recommended)
20 EMA and 50 EMA on the M1 chart (quick scalping method with EMA).
ATR(14) on M1 (for stop calibration), optional.
Mark current session high/low (or last 60-minute high/low).
Trade only when
Spread is under your threshold.
Market is not in a news spike.
Price is trending (not flat EMAs).
Trend filter
Longs only when 20 EMA is above 50 EMA and both slope upward.
Shorts only when 20 EMA is below 50 EMA and both slope downward.
Pullback
Wait for price to retrace into the 20–50 EMA zone or prior structure (micro support/resistance).
Avoid entering at the impulse extreme.
Trigger (confirmation candle)
Long trigger: rejection wick into EMA zone + bullish close that breaks prior 1–3 candle high.
Short trigger: rejection wick into EMA zone + bearish close that breaks prior 1–3 candle low.
Optional momentum confirmation: trigger candle closes with a larger body than the prior candle.
Invalidation + stop

Stop goes 1–2 pips (or a small buffer) beyond the pullback swing low (for longs) or swing high (for shorts).
If stop must be too large for the setup, skip the trade.
Target + exit
Primary target: 1R to 1.5R (or nearest micro structure).
Add a time stop: exit if not moving in your favor after 5–8 candles.
1-Minute Scalping Strategy
The 1-minute timeframe (M1) is one of the most popular for scalping. It offers frequent opportunities but also high noise.
This means:
More setups
More false signals
More emotional pressure
A simple 1-minute strategy includes:
Step 1: Identify Trend
Use price action or moving averages to determine direction.
For a rule-based approach, define trend with a simple filter:
EMA method: trade in the direction of the 20/50 EMA alignment and slope.
Price action method: higher highs/higher lows for longs, lower highs/lower lows for shorts, ideally around a session move.
Extra filter that reduces false signals on M1: only trade when price is not chopping through both EMAs repeatedly. If candles keep crossing back and forth, conditions are random.
Step 2: Wait for Pullback
Entering at extremes increases risk. Wait for price to retrace.
A pullback should be “controlled,” not chaotic:
Best pullback: 2–6 candles drifting back into the EMA zone.
Risky pullback: sharp opposite impulse that breaks multiple swing points quickly.
A pullback entry is a trade taken after price retraces toward a reference level (such as an EMA or prior structure) rather than entering at the impulse high/low. This improves reward-to-risk because your stop can sit beyond a nearby swing.
Step 3: Enter on Confirmation
Look for strong candles, rejection wicks, or momentum shifts.
Make “confirmation” objective:
Rejection wick: price probes below/above the EMA zone and snaps back.
Break of micro structure: trigger candle closes beyond the last 1–3 candle high/low.
Body quality: avoid tiny-bodied doji triggers; prefer decisive closes.
Execution tip: use a stop order just beyond the trigger candle high/low if your platform supports it. It helps avoid early entries during a pullback.
Step 4: Exit Quickly
Scalping profits come from small, consistent gains—not holding for large moves.
A practical exit plan includes:
Take profit at 1R to 1.5R or the nearest micro support/resistance.
Consider a partial exit: take 50–70% at 1R, then trail the rest behind the 20 EMA or last swing.
Use a time stop if price stalls.
A time stop is an exit rule that closes a scalp if price does not reach the target within a set number of candles, limiting exposure to chop. On M1, time is risk.
The key is not predicting the market—but reacting to what it shows in real time.
Entry, stop-loss, take-profit, and trade management (exact rules)
This section turns the 4 steps into 1 minute scalping entry and exit rules you can execute.
Entry rules (long)
20 EMA above 50 EMA; both sloping up.
Price pulls back into EMA zone or prior support.
A bullish rejection candle forms (wick down, close up).
Entry on break/close above the trigger candle high (or above the last 1–3 candle high).
Entry rules (short)
20 EMA below 50 EMA; both sloping down.
Price pulls back into EMA zone or prior resistance.
A bearish rejection candle forms (wick up, close down).
Entry on break/close below the trigger candle low (or below the last 1–3 candle low).
Stop-loss placement (tight but realistic)
Set stops where the setup is proven wrong:
Long: below the pullback swing low + small buffer (spread-aware).
Short: above the pullback swing high + small buffer.
ATR assist (optional): if you use ATR(14) on M1, many scalpers cap stops around 0.8–1.2x ATR. If that pushes your stop too wide for the structure, skip.
Take-profit options (pick one and stay consistent)
Fixed R: TP at 1R–1.5R (simple, testable).
Structure TP: nearest micro high/low, session high/low, or a clean liquidity pocket.
Hybrid: 1R partial + structure for the remainder.
Trade management rules (reduce chop damage)
Move stop to breakeven only after price prints a clear continuation (for example, a close beyond the prior swing). Premature breakeven often increases stop-outs.
If spread widens suddenly mid-trade, reduce exposure or exit.
If the trade doesn’t progress within 5–8 minutes (candles), use the time stop.
Scalping risk management and position sizing (make it survivable)
Scalping risk management position sizing matters more on M1 because trade frequency tempts overtrading.
Use simple constraints:
Risk per trade: 0.25% to 1% of account (many M1 scalpers stay at 0.25–0.5%).
Max trades per session: set a cap (example: 5–10 trades).
Daily loss limit: stop trading at -2R or -3R.
Daily win limit (optional): stop after +3R to +5R to avoid giving it back.
Position sizing formula:
Position size = (Account risk in $) / (Stop distance in pips or points × value per pip/point)
Non-negotiable: if the required stop is too tight to survive normal movement, don’t “hope.” Skip.
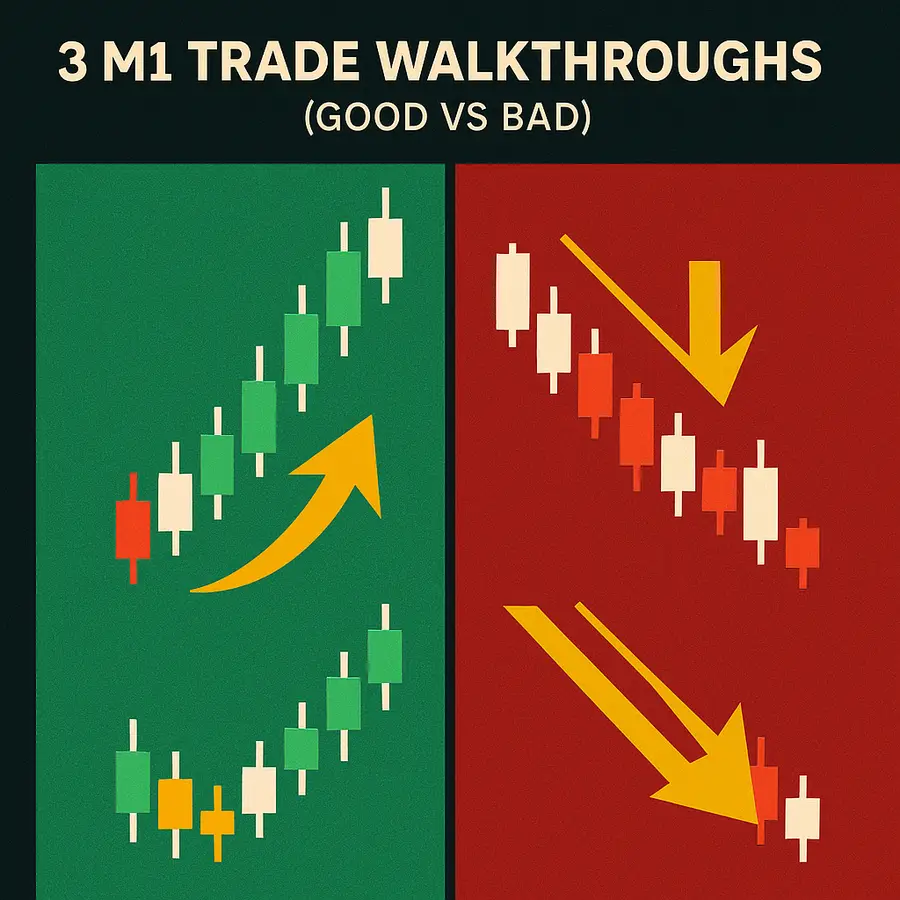
Examples: 3 M1 trade walkthroughs (good vs bad)
These are “annotated” in words so you can map them to your chart.
Example 1: Clean trend + pullback long (good setup)
Market: EURUSD during London/NY overlap.
Trend: 20 EMA above 50 EMA; both rising.
Pullback: 4 candles drift into the EMA zone; no violent sell candle.
Trigger: rejection wick below 20 EMA; bullish close above prior candle.
Entry: break above trigger high.
Stop: 1–2 pips below pullback swing low.
Target: 1.2R near prior micro high.
Result logic: fast follow-through within 3–5 candles. This is ideal M1 behavior.
Why it worked: trend alignment + controlled pullback + decisive trigger.
Example 2: “Looks perfect” but spread eats it (bad conditions)
Market: GBPUSD at a low-liquidity hour.
Spread: jumps from 0.8 to 1.8 pips frequently.
Setup: trend and pullback appear valid.
Target: 4 pips, stop: 4 pips (1R).
Reality: a 1.8 pip spread means net upside is thin; small slippage turns winners into scratches.
Why it failed: the strategy was fine; cost conditions were not. On M1, costs are part of the setup.
Example 3: Chop zone overtrade (common failure mode)
Market: index after the main impulse ends.
EMAs flatten; candles cross both EMAs repeatedly.
Multiple “rejection wicks” appear but no continuation.
Fix:
Add a no-trade rule: if the EMAs are flat and price crosses them 3+ times in 10 candles, stand down.
Use the time stop aggressively. Chop is where M1 accounts bleed.
Best indicators for 1 minute scalping (optional, not mandatory)
Indicators should support rules, not replace them.
Practical toolset:
20/50 EMA: fast trend filter and pullback zone.
Session high/low: clean targets and invalidation context.
ATR(14): keeps stops proportional to current volatility.
Optional: VWAP (especially on indices) as a mean reference; many pullbacks react near it.
If indicators conflict with price action repeatedly, simplify. M1 rewards clarity.
Practice plan: forward-test and journaling framework
M1 strategies should be validated with forward testing on your broker’s feed because spread and execution differ.
7-day forward-test checklist
Trade only one instrument and one session window.
Take only A+ setups that meet every rule.
Use fixed risk and fixed exits for clean data.
Journal fields (keep it simple)
Date/time, instrument, session
Spread at entry
Trend state (EMA slope/alignment)
Pullback type (controlled vs sharp)
Trigger candle notes
Stop (pips), target (pips), result in R
Time in trade (candles)
Screenshot note (yes/no)
Emotion rating (1–5), rule break (yes/no)
Mini scorecard template (interpretation)
After 30–50 trades, calculate:
Win rate
Average R per trade
Max drawdown in R
% trades taken during valid session + spread threshold
Goal: a process you can repeat. If results are negative, reduce variables first (session, spread, overtrading) before changing the core rules.
FAQ: 1-minute scalping strategy
What is a 1-minute scalping strategy and how is it different from 5-minute scalping?
M1 scalping targets smaller moves with tighter stops and faster exits. It produces more setups than M5, but also more noise, higher emotional load, and a bigger impact from spread and slippage.
Why does the 1-minute timeframe produce so many false signals?
Because micro volatility dominates on M1. Small order-flow shifts, spread changes, and liquidity gaps create frequent fakeouts. A trend filter + pullback + trigger structure reduces low-quality signals.
Which markets and sessions are best for M1 scalping?
High-liquidity windows are best: London and the London/NY overlap for forex, and the first 1–2 hours of the NY open for indices. Avoid low-liquidity periods and high-impact news windows.
How should stop-loss and take-profit be set on M1?
Stops should sit beyond the pullback swing with a spread-aware buffer. Targets typically work best at 1R to 1.5R or at nearby micro structure. Add a time stop to cut stagnation.
What risk per trade and daily limits make M1 scalping sustainable?
Many traders use 0.25–0.5% risk per trade, a -2R to -3R daily stop, and a cap on total trades to prevent overtrading and revenge decisions.
Diagnose Your #1 Trading Mistake — Free
Answer 10 diagnostic questions and instantly find out which trading mistake is costing you the most — with a personalised 3-page correction plan PDF.
- Identifies your primary trading mistake
- Personalised 4-step correction plan
- 3-page PDF emailed to you free
What you'll discover:
-
Revenge Trading
Are you chasing losses?
-
Overtrading
Too many trades per day?
-
Emotional Trading
Feelings overriding logic?
Free. No sign-up required. PDF sent to your email.